We use a small include file called figure.html to help format our images consistently across different pages. You can copy and paste this code and put it anywhere you want an image. The gray box below shows the code you can use, and the rest of the page provides further examples and a few other image tools, like an image carousel and a before/after slider for comparing two images.
A few formatting options for basic images:
- class:
img-left,img-center,img-right - width: specify a value for the width, usually as a percent of the page with
- caption: self-explanatory
- image-url: a path to your image
- Your path will often look like
images/filename.jpg. This is a “relative” path because the image location is RELATIVE to the page on which you’re trying to load the image. - You can also use an ABSOLUTE path to your image, which means the path starts with a
/and begins from the root folder of your website.
- Your path will often look like
{% include figure.html
class="img-right"
width="60%"
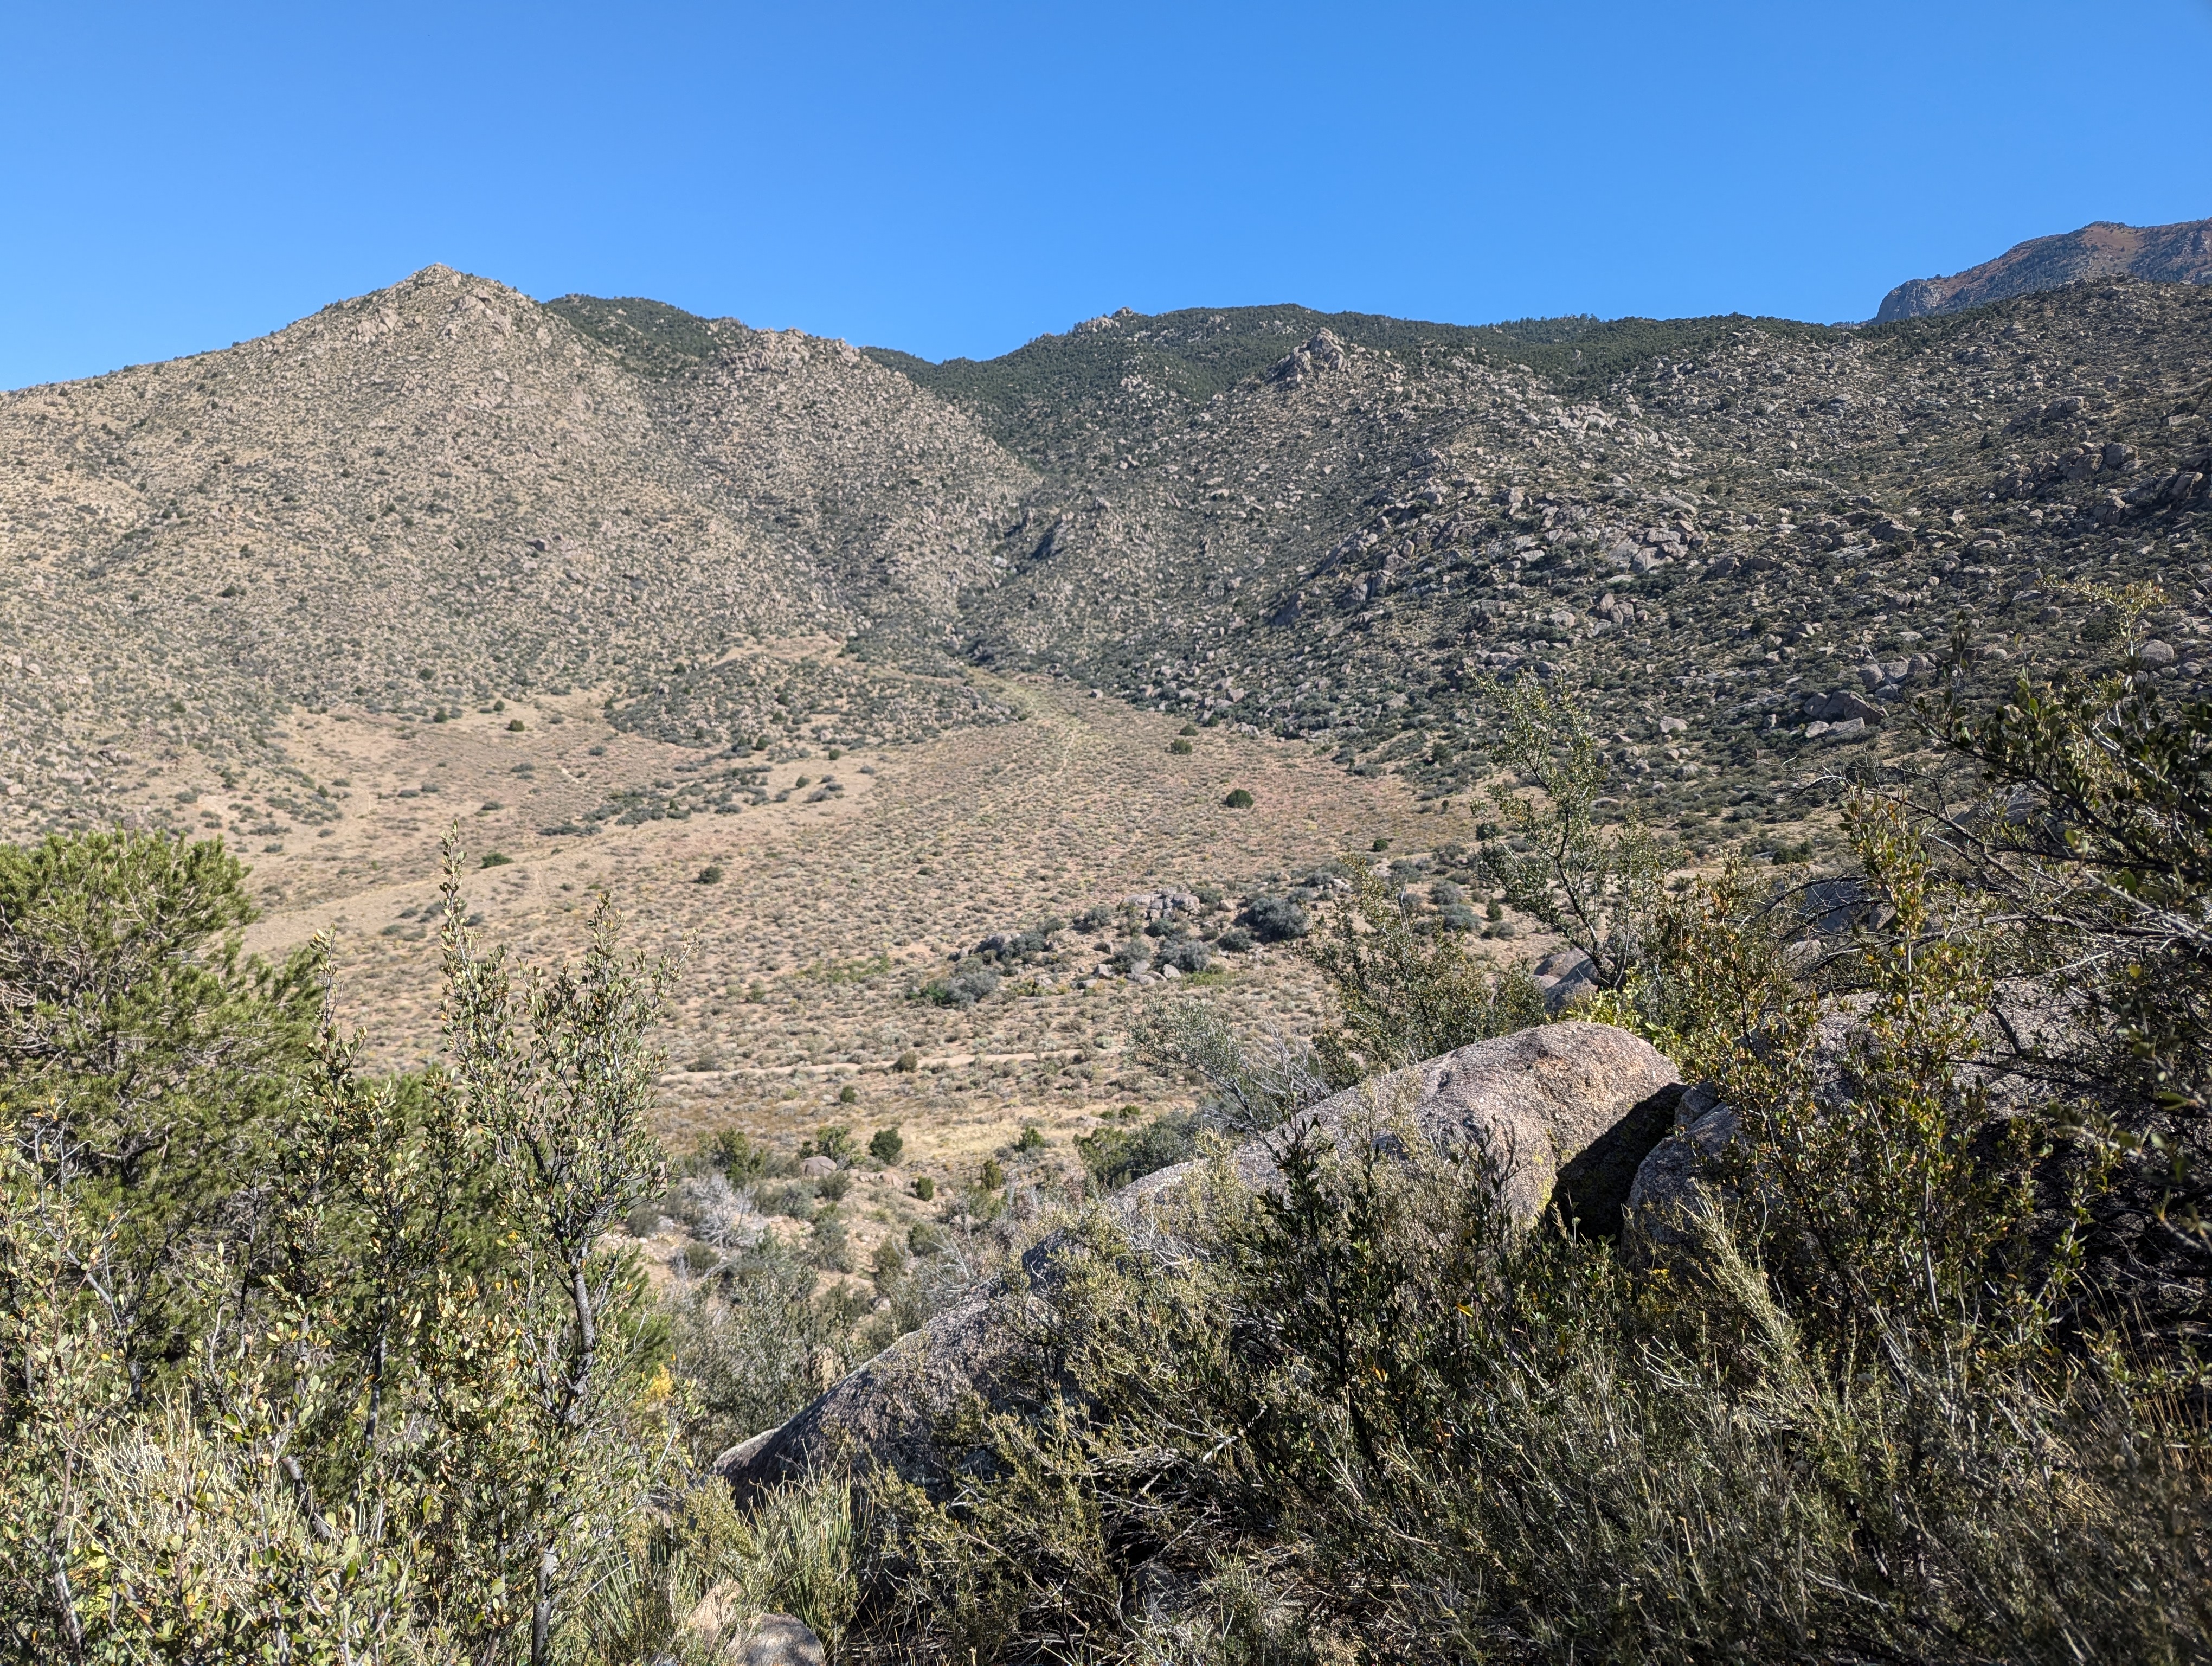
caption="What a nice view"
image-url="/assets/bg-images/hike-1.jpg"
%}
Inline Images
It’s easy to place images in your story, ones are “fixed” to the page and move along with the text.
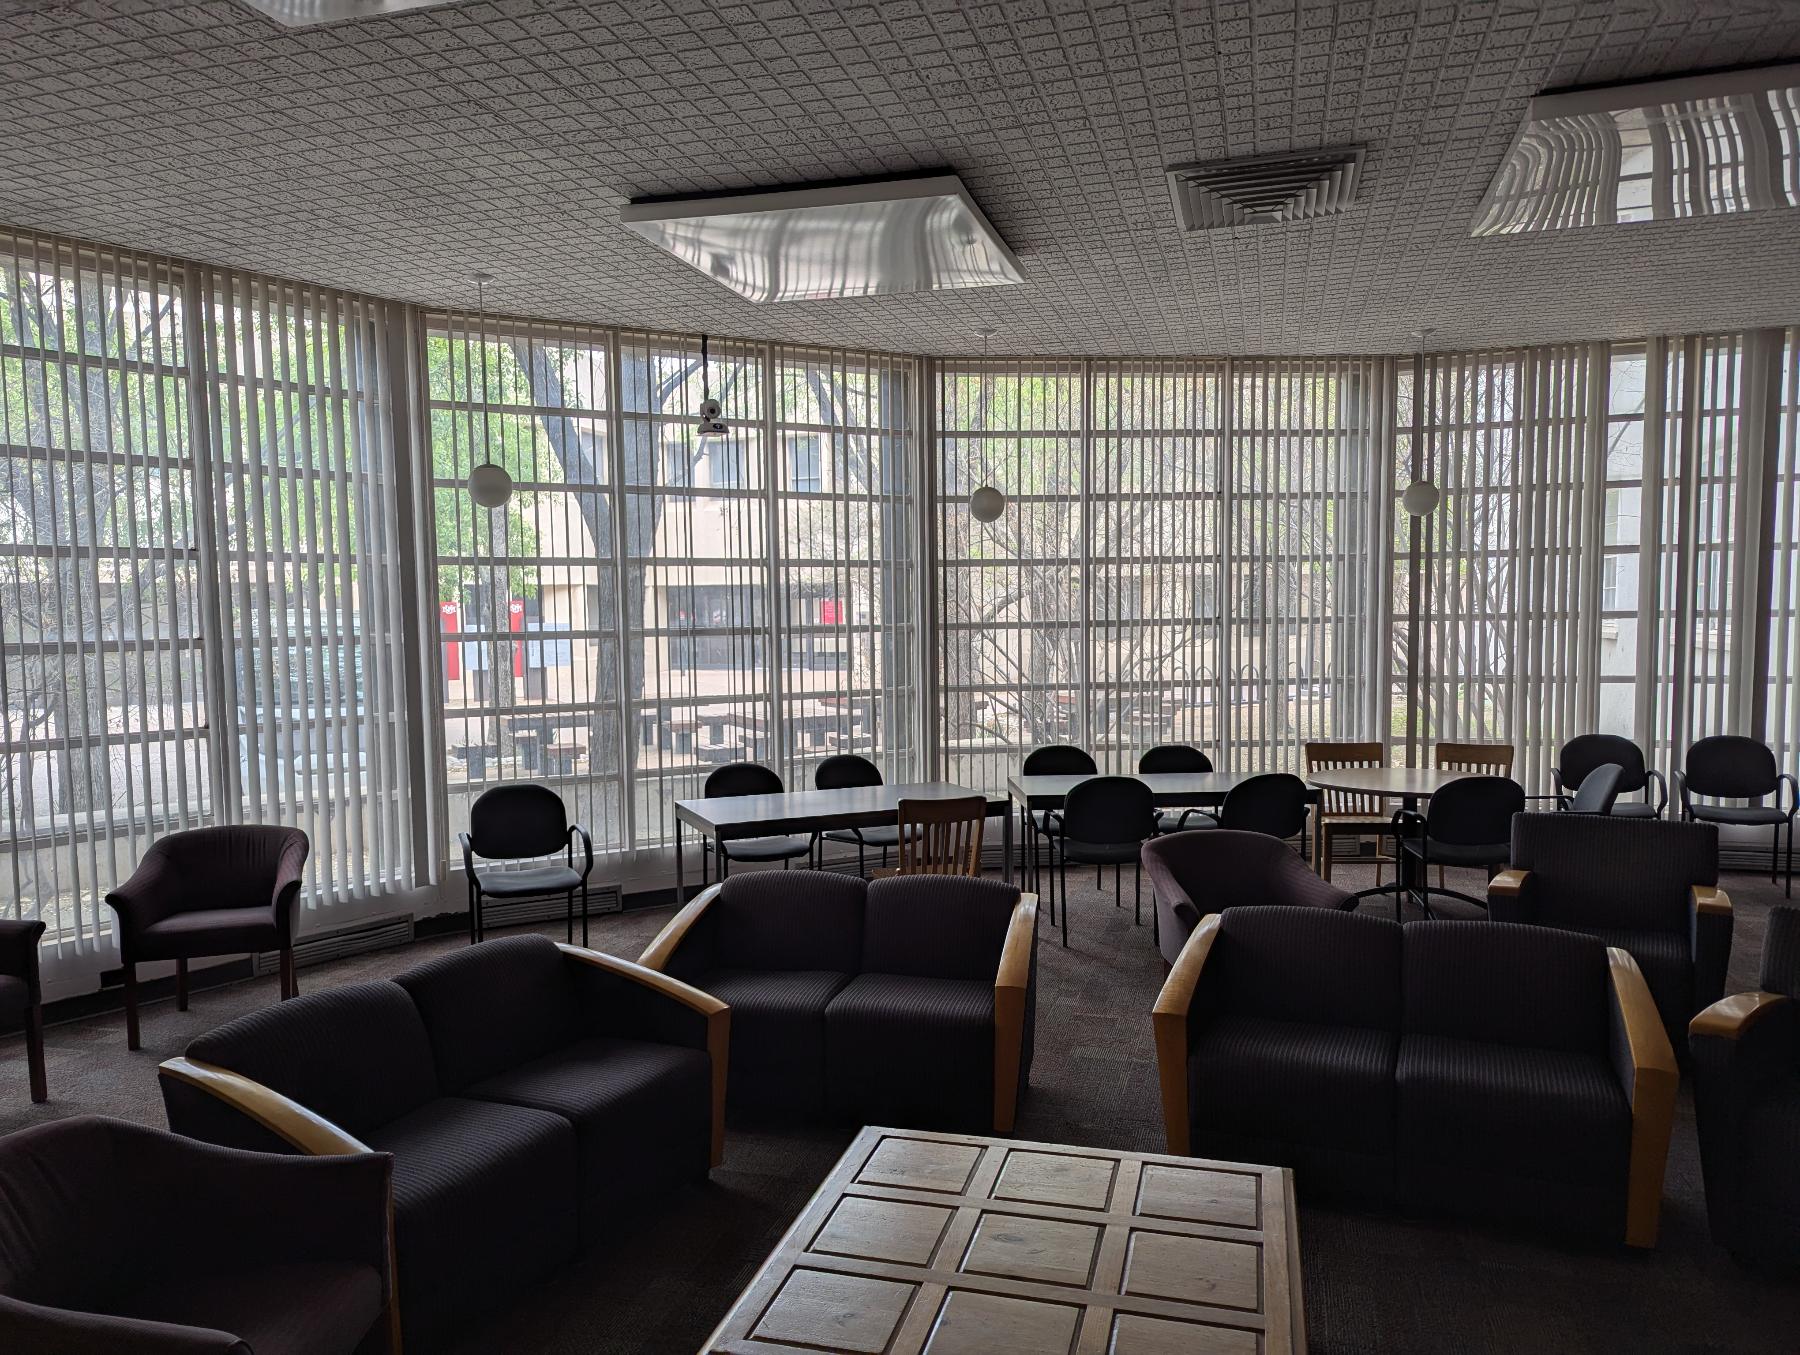
You can have them off to the right.
Etiam finibus risus et sagittis suscipit. Praesent id nisi metus. Vivamus odio ligula, iaculis vestibulum convallis id, vehicula at justo. Sed vestibulum elit at ante pellentesque pretium. Vestibulum euismod tempus sem sit amet scelerisque. Curabitur hendrerit fermentum rutrum. Nam suscipit dictum purus, non rhoncus dui sodales nec. Etiam convallis arcu metus, ut cursus risus porttitor sit amet. Duis ut sapien varius libero efficitur vehicula. Sed id massa id elit ullamcorper feugiat. In hac habitasse platea dictumst.
In hac habitasse platea dictumst. Sed ultrices venenatis nunc et eleifend. Praesent sapien enim, porta egestas tortor vitae, imperdiet mollis velit. Cras quis quam lacus. Cras ac felis sed nunc bibendum rutrum vitae at massa. Mauris id vestibulum dolor. Vivamus iaculis sollicitudin purus sit amet gravida. Aliquam erat diam, pretium eget urna at, pretium bibendum nunc. Nullam finibus aliquet diam, in ullamcorper odio vulputate tincidunt. Nam mauris felis, feugiat porta molestie ac, eleifend id quam. Suspendisse varius erat odio, et fermentum libero elementum sit amet. Morbi maximus justo fringilla facilisis tincidunt. Curabitur pretium nulla mauris, vel condimentum leo malesuada non. Cras purus erat, malesuada suscipit tempor sit amet, rhoncus et sapien. Fusce at blandit urna.
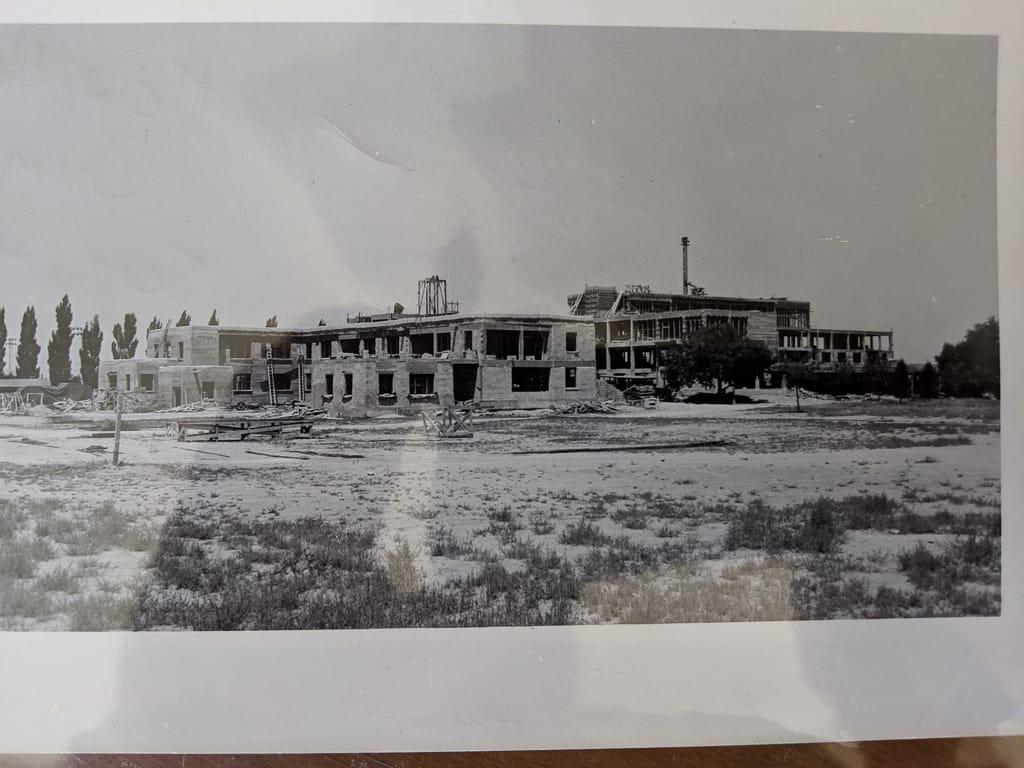
You can have them off to the left. You can control the width.
Etiam finibus risus et sagittis suscipit. Praesent id nisi metus. Vivamus odio ligula, iaculis vestibulum convallis id, vehicula at justo. Sed vestibulum elit at ante pellentesque pretium. Vestibulum euismod tempus sem sit amet scelerisque. Curabitur hendrerit fermentum rutrum. Nam suscipit dictum purus, non rhoncus dui sodales nec. Etiam convallis arcu metus, ut cursus risus porttitor sit amet. Duis ut sapien varius libero efficitur vehicula. Sed id massa id elit ullamcorper feugiat. In hac habitasse platea dictumst.
In hac habitasse platea dictumst. Sed ultrices venenatis nunc et eleifend. Praesent sapien enim, porta egestas tortor vitae, imperdiet mollis velit. Cras quis quam lacus. Cras ac felis sed nunc bibendum rutrum vitae at massa. Mauris id vestibulum dolor. Vivamus iaculis sollicitudin purus sit amet gravida. Aliquam erat diam, pretium eget urna at, pretium bibendum nunc. Nullam finibus aliquet diam, in ullamcorper odio vulputate tincidunt. Nam mauris felis, feugiat porta molestie ac, eleifend id quam. Suspendisse varius erat odio, et fermentum libero elementum sit amet. Morbi maximus justo fringilla facilisis tincidunt. Curabitur pretium nulla mauris, vel condimentum leo malesuada non. Cras purus erat, malesuada suscipit tempor sit amet, rhoncus et sapien. Fusce at blandit urna.
Side by side
To achieve two images side by side use, make sure the width for each is 48%. (It’s less than 50% to make room for margins.)
{% include figure.html
class="img-left"
width="48%"
caption="Here's an image on the left."
image-url="/assets/images/default.jpg"
%}

{% include figure.html
class="img-left"
width="48%"
caption="Here's an image on the right."
image-url="/assets/images/default.jpg"
%}
Full-width
Of course you can have the image take 100% of the page container, but make sure you’re image is large enough to look nice. Unlike the below example.
{% include figure.html
  class="img-center"
  width="100%"
  caption="Make sure your image is large enough to be 100% width or it will look grainy. See above."
  image-url="images/default.jpg" %}
Jumbotron Images
You’ll notice that even a “full-width” image is still bound by our page margins. But sometimes you just need to turn things up to 11.
In that case, go jumbo! You can make an image be the whole width of the browser window, and control the height of the image for whatever effect you need. Set the height parameter to be the % of the browser height. (So, 100 will take up the browser winder, however big or small that is.)